New Etchings

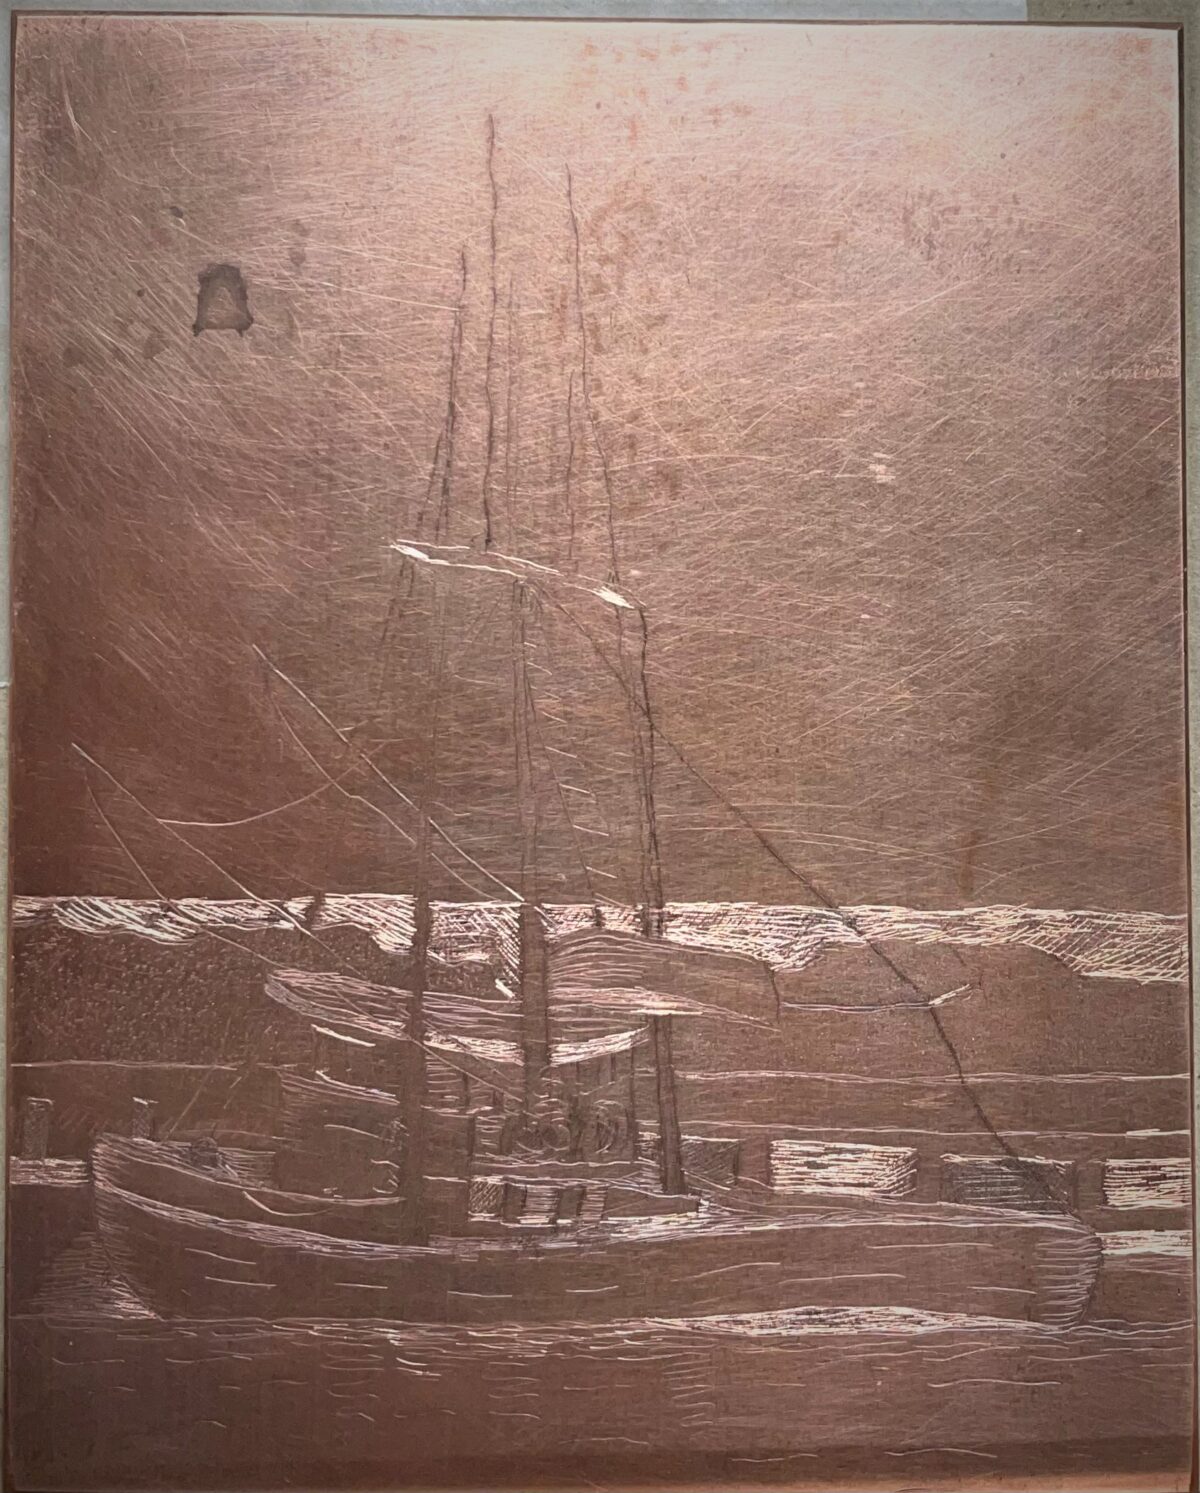
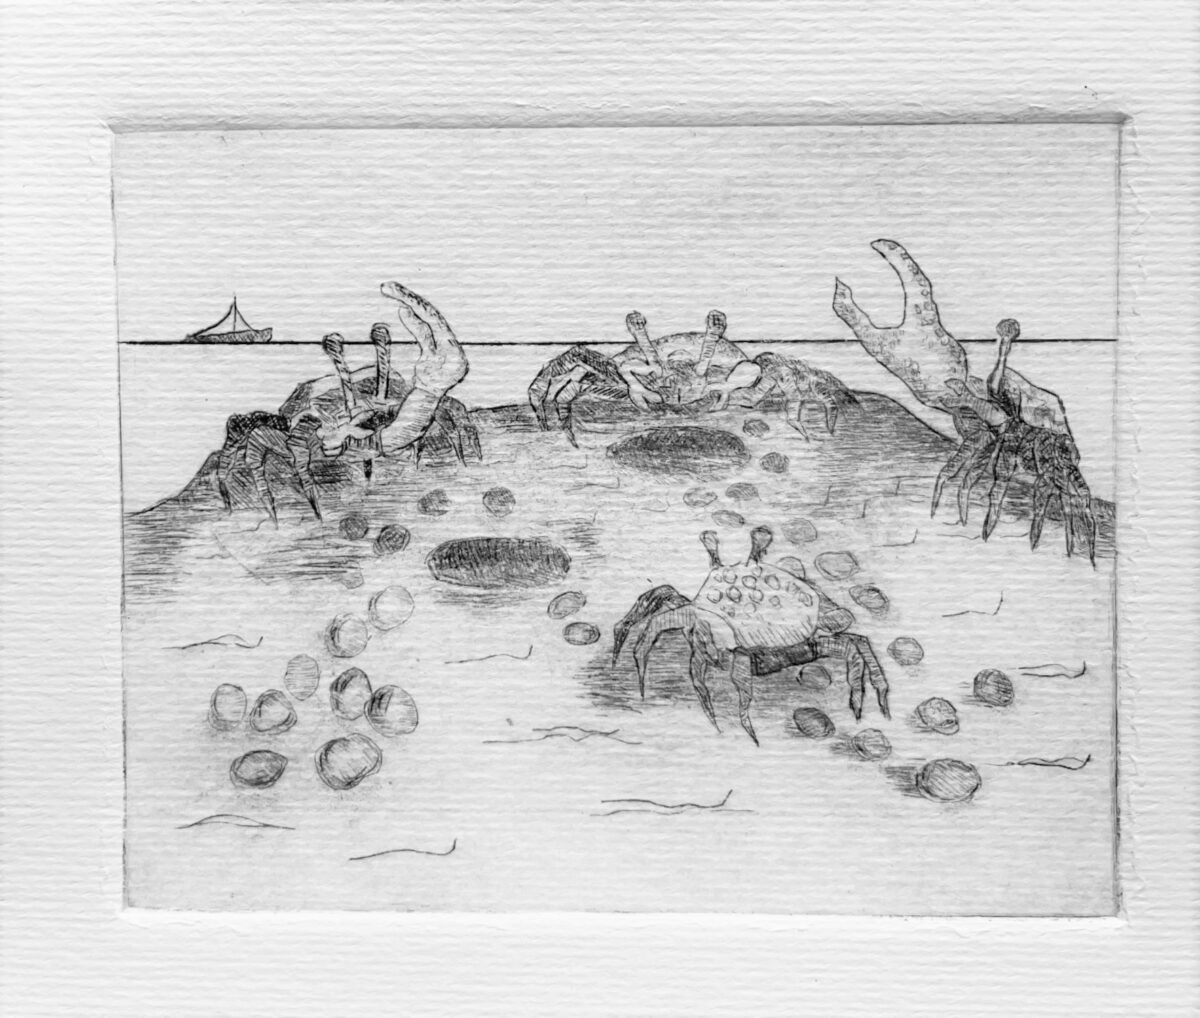
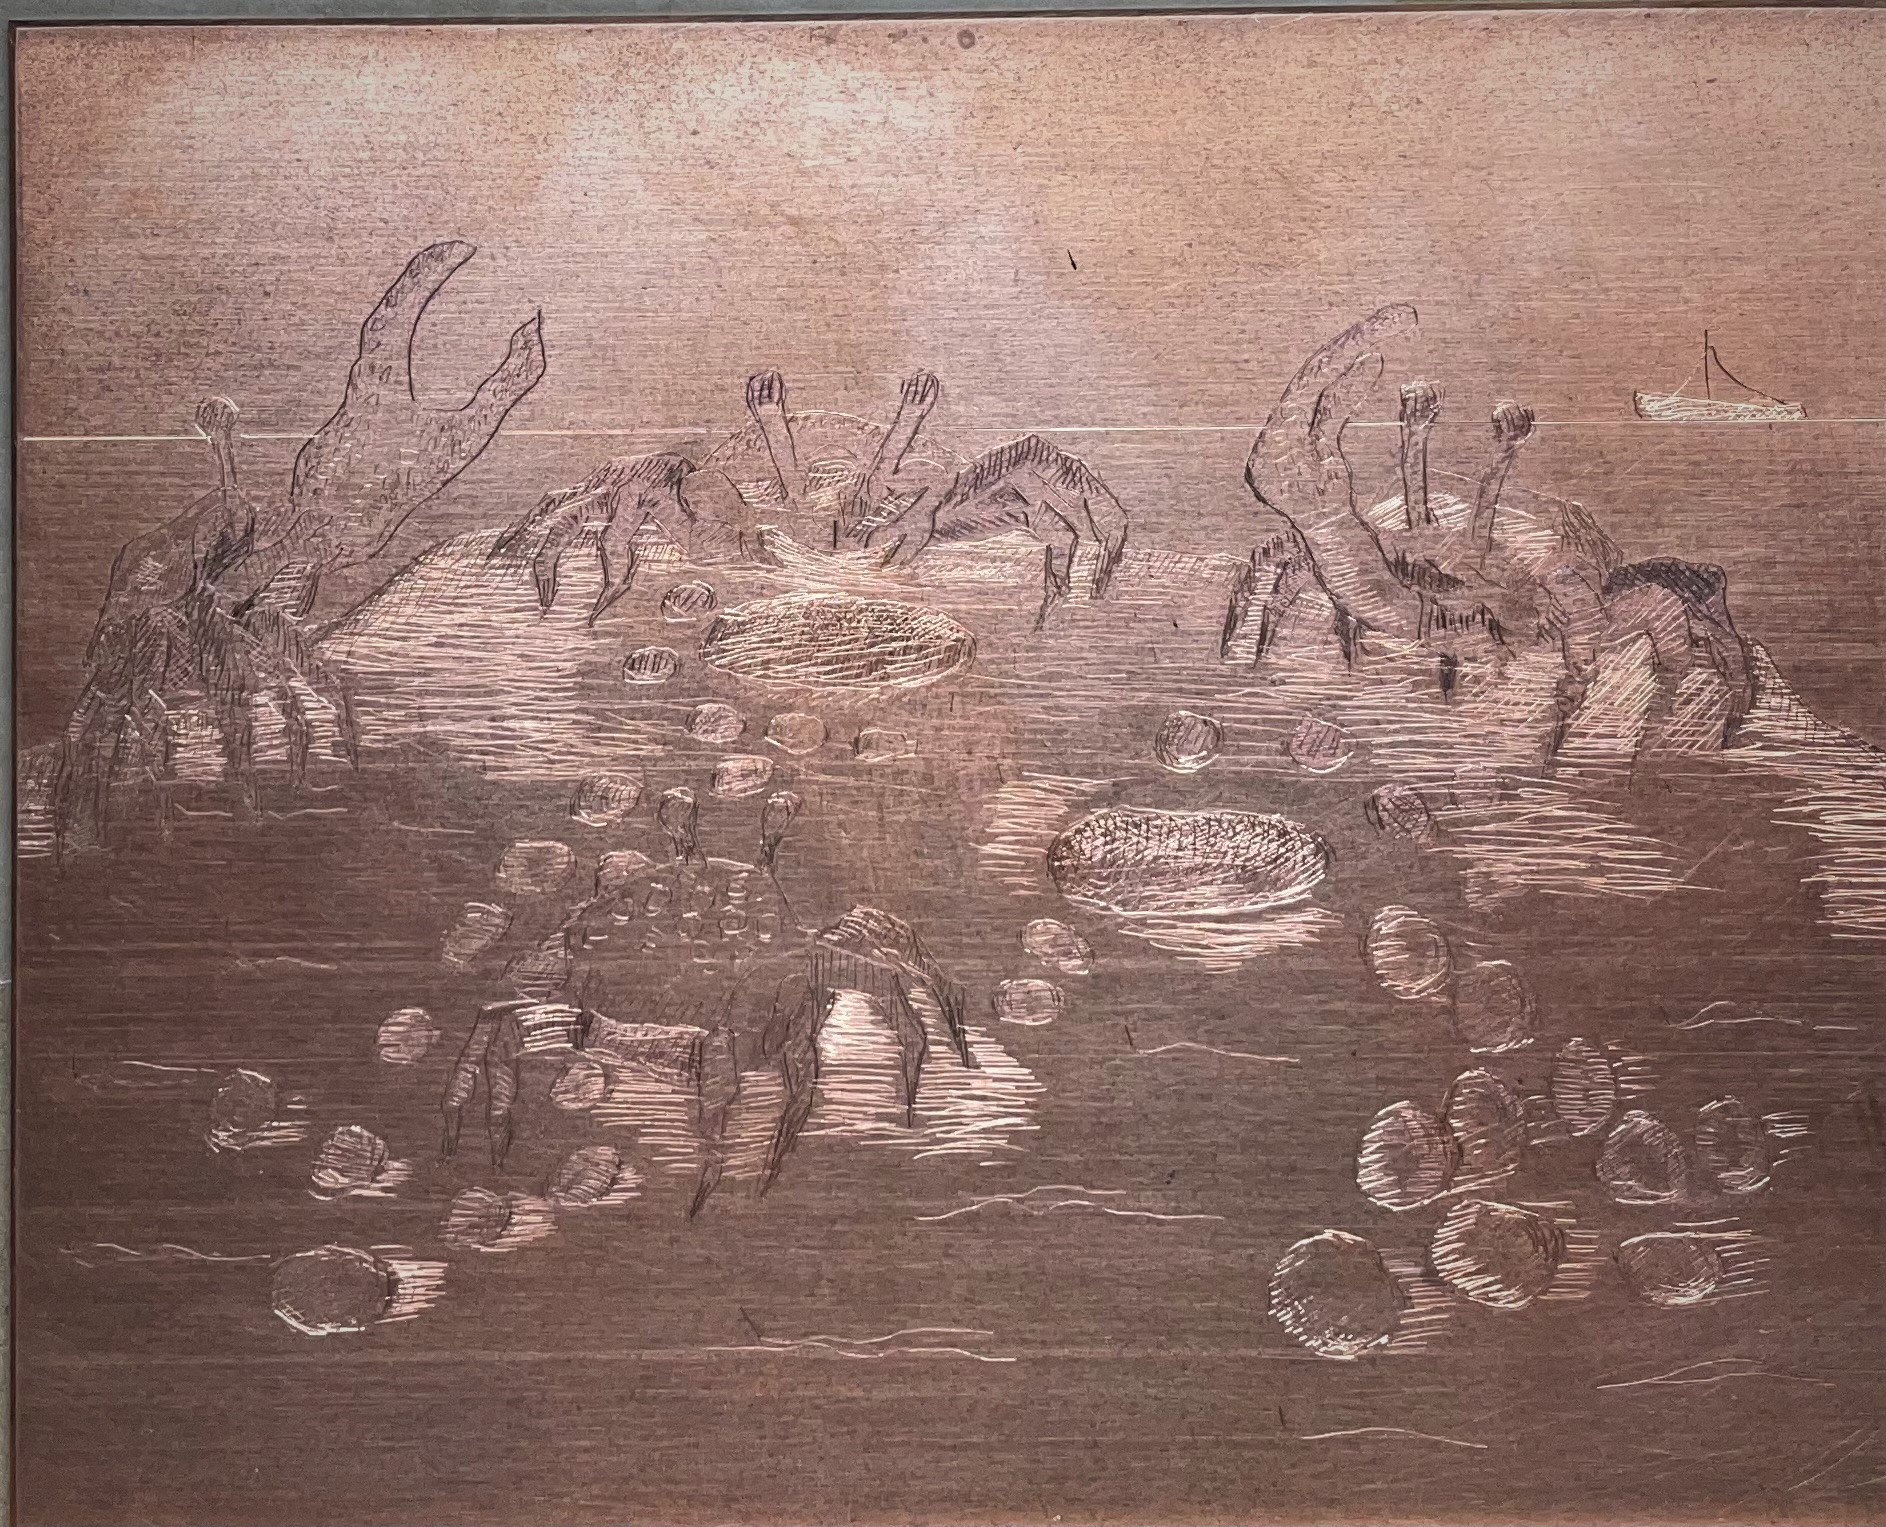
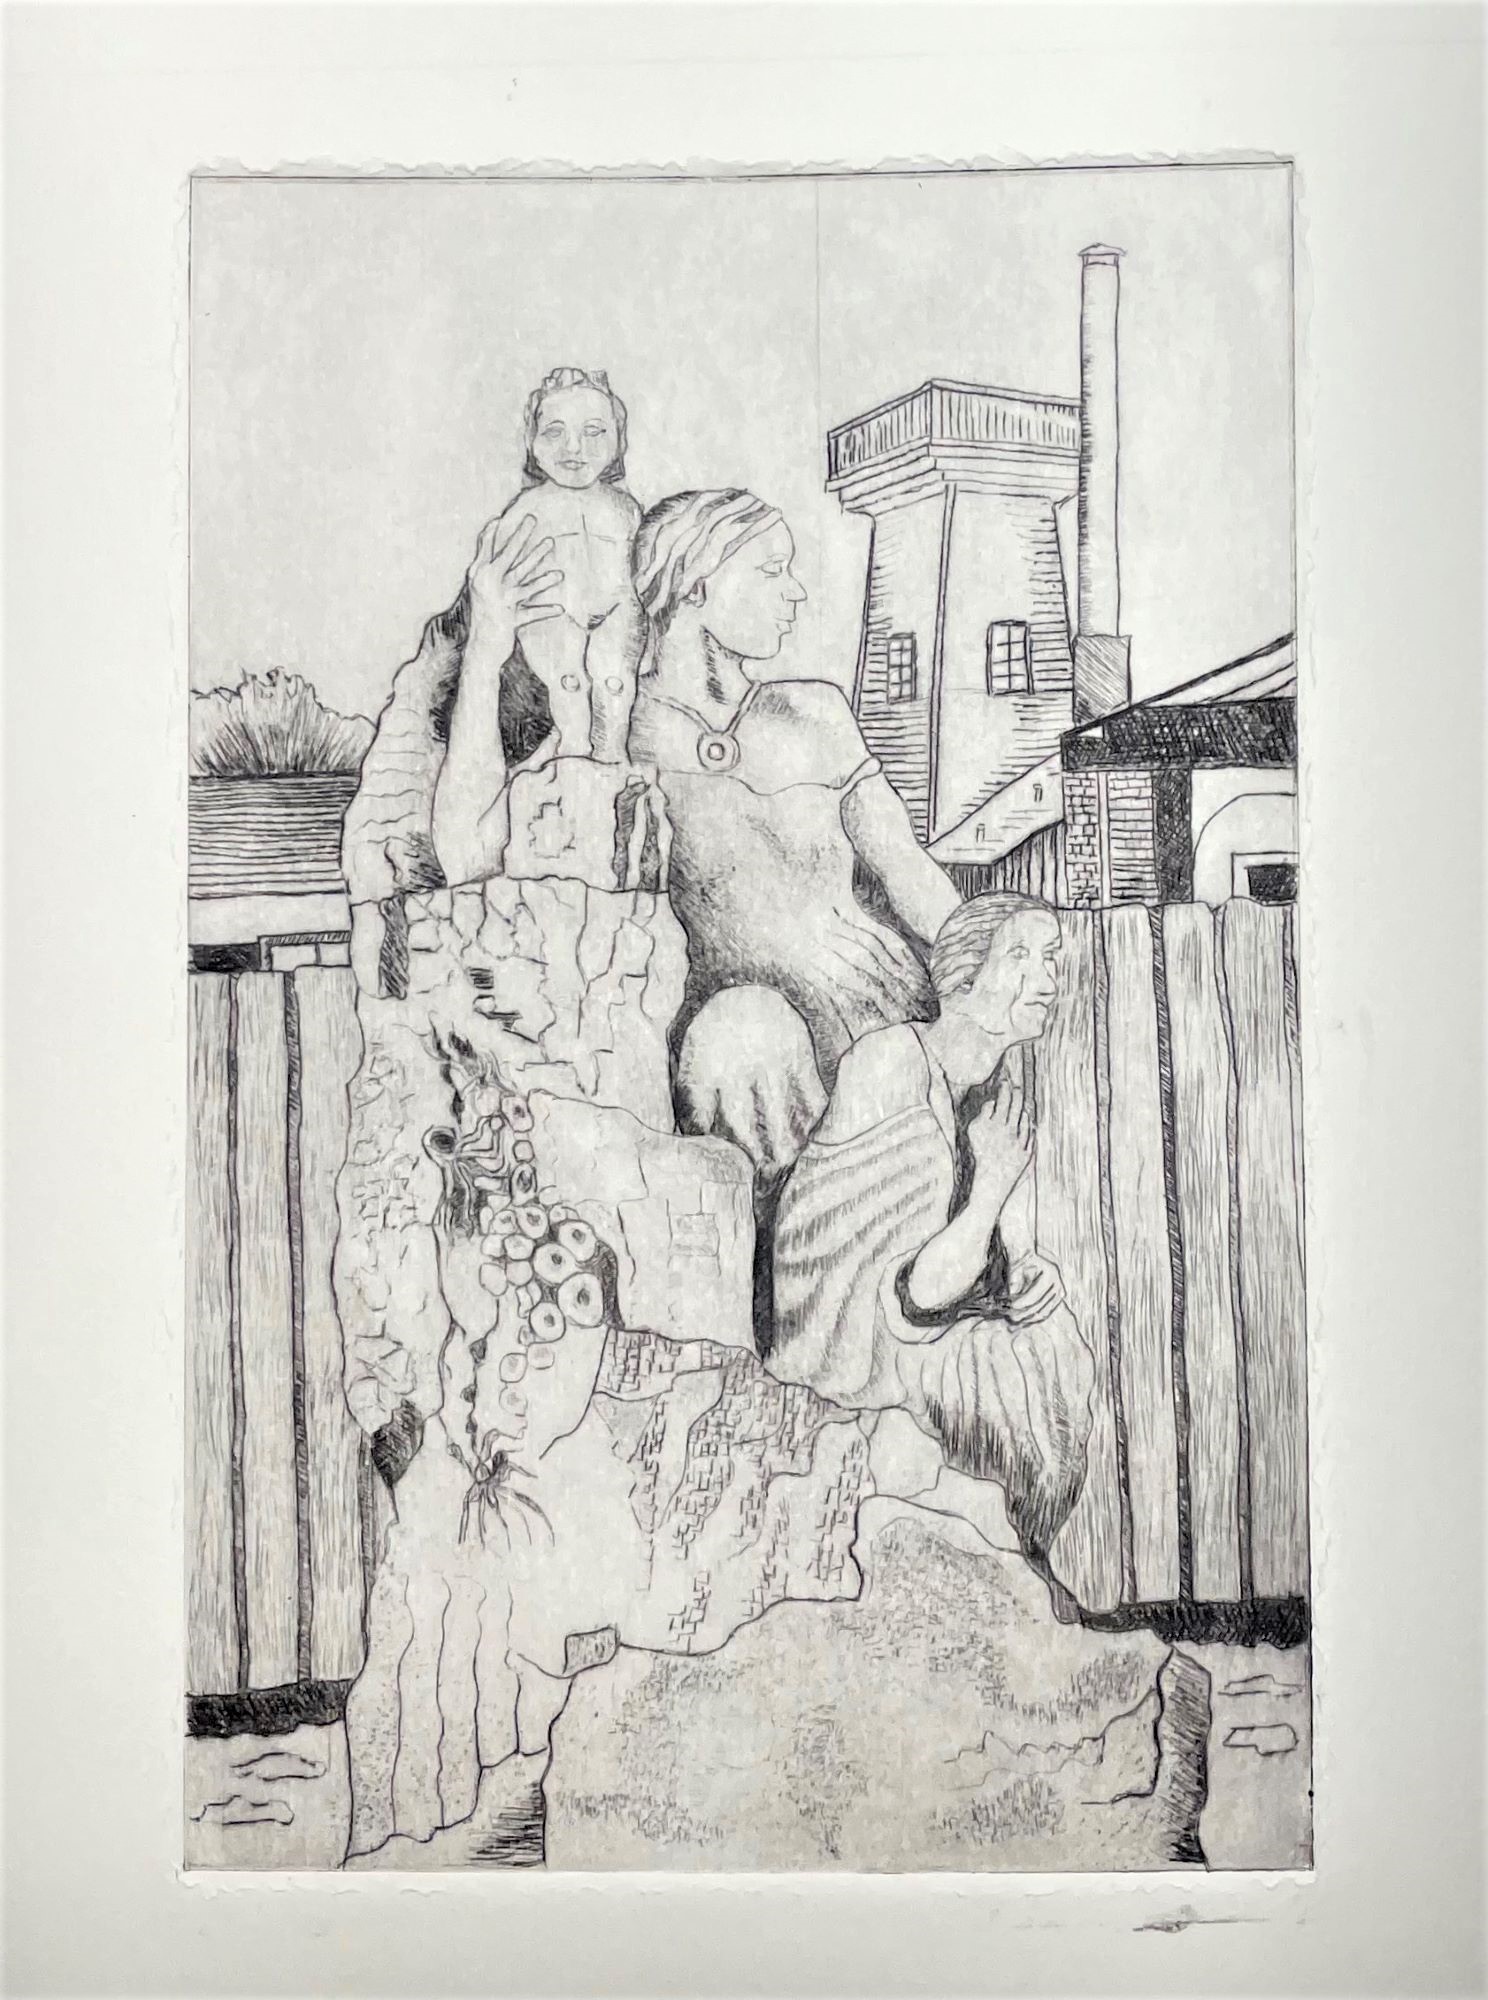
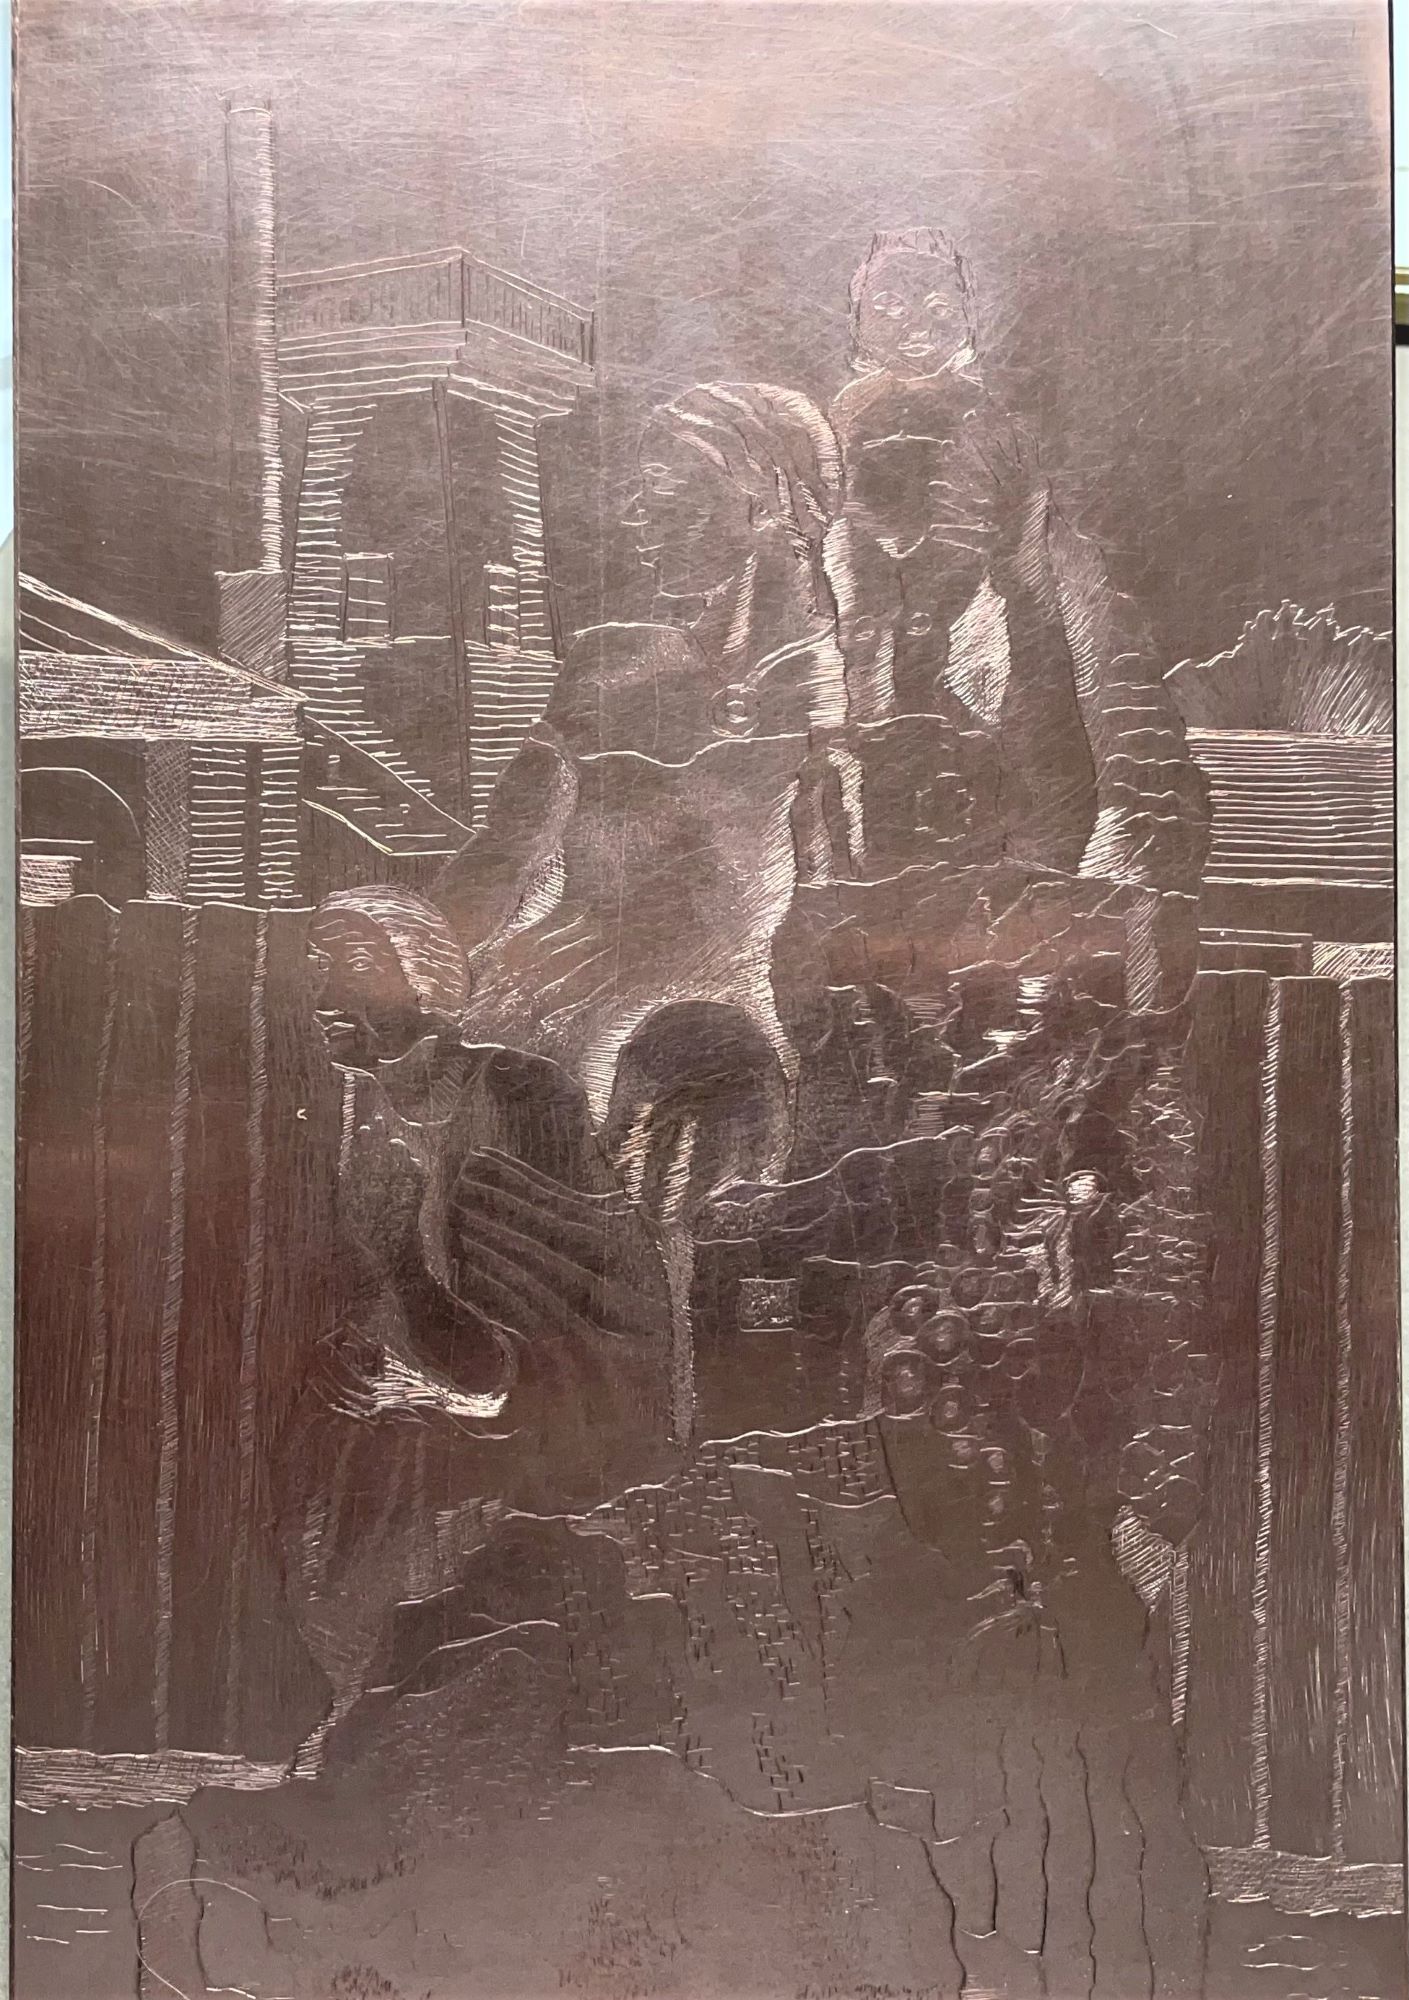
Last October I rented space in the jewelry studio at the Mendocino Art Center and began working with dry point on copper plates. Some years ago I tried this method but now I wanted to revisit it. I like the simplicity of using the stylus directly on the plate, and not having to deal with acids. I also like the feel of the relatively heavy plate, and the brillance of copper. The plates are shown below. The first two etchings are 4×5 inches, the last one is 6X8.

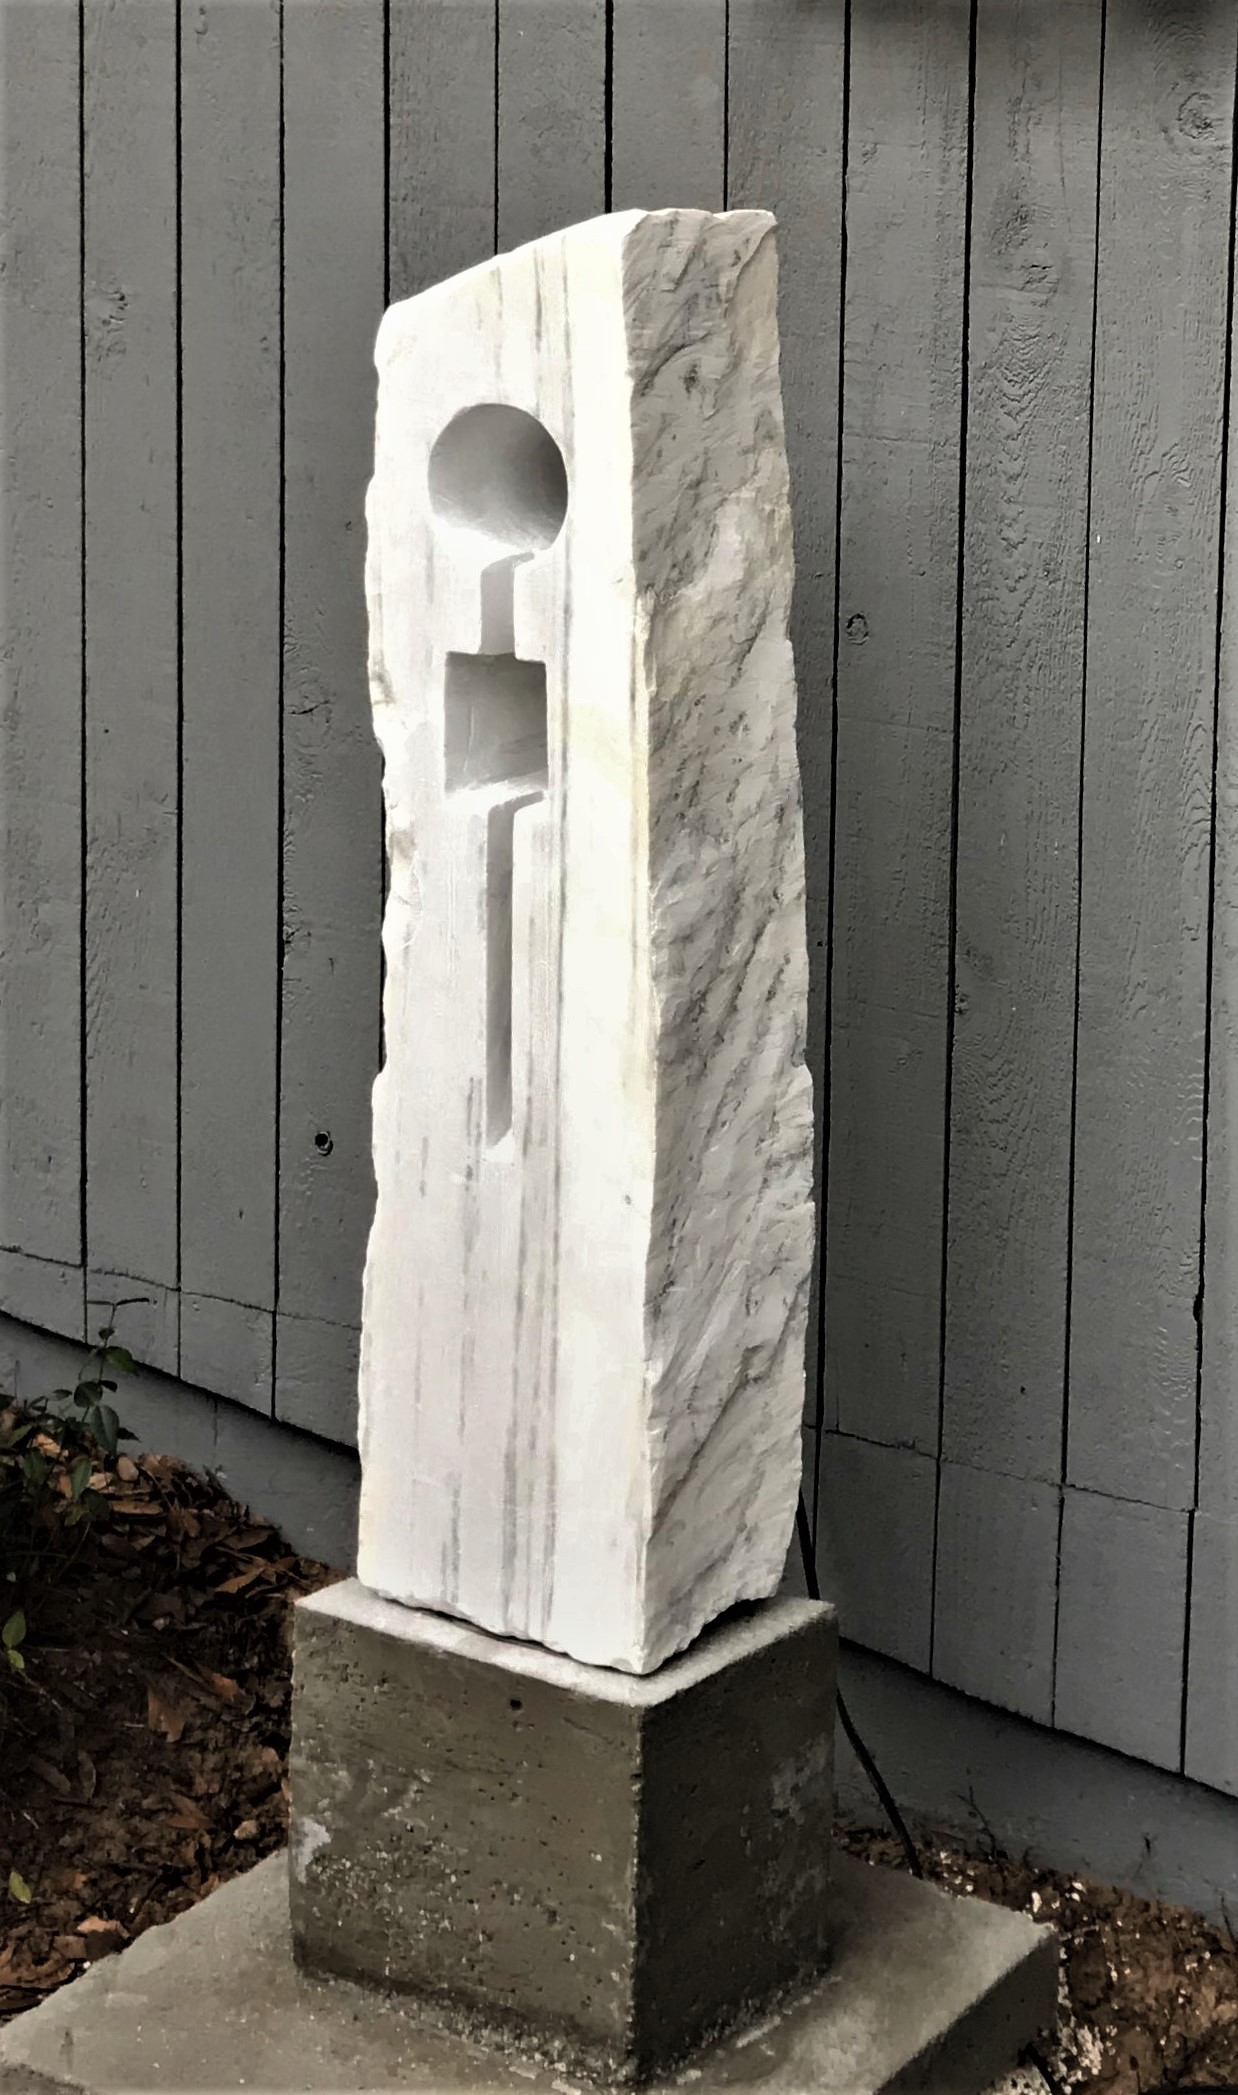
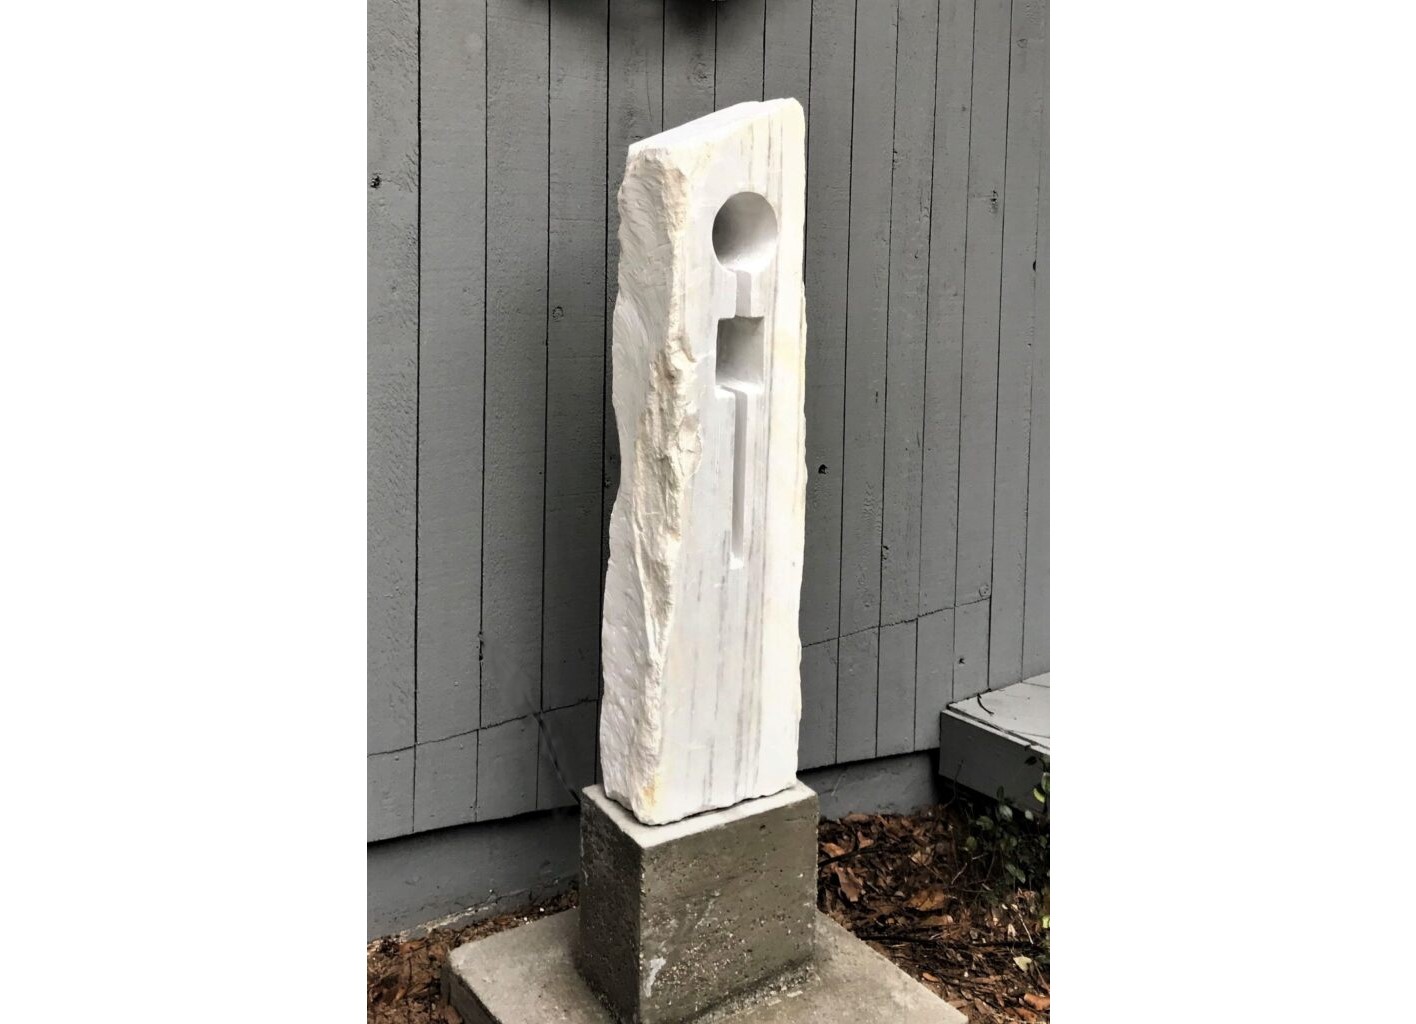
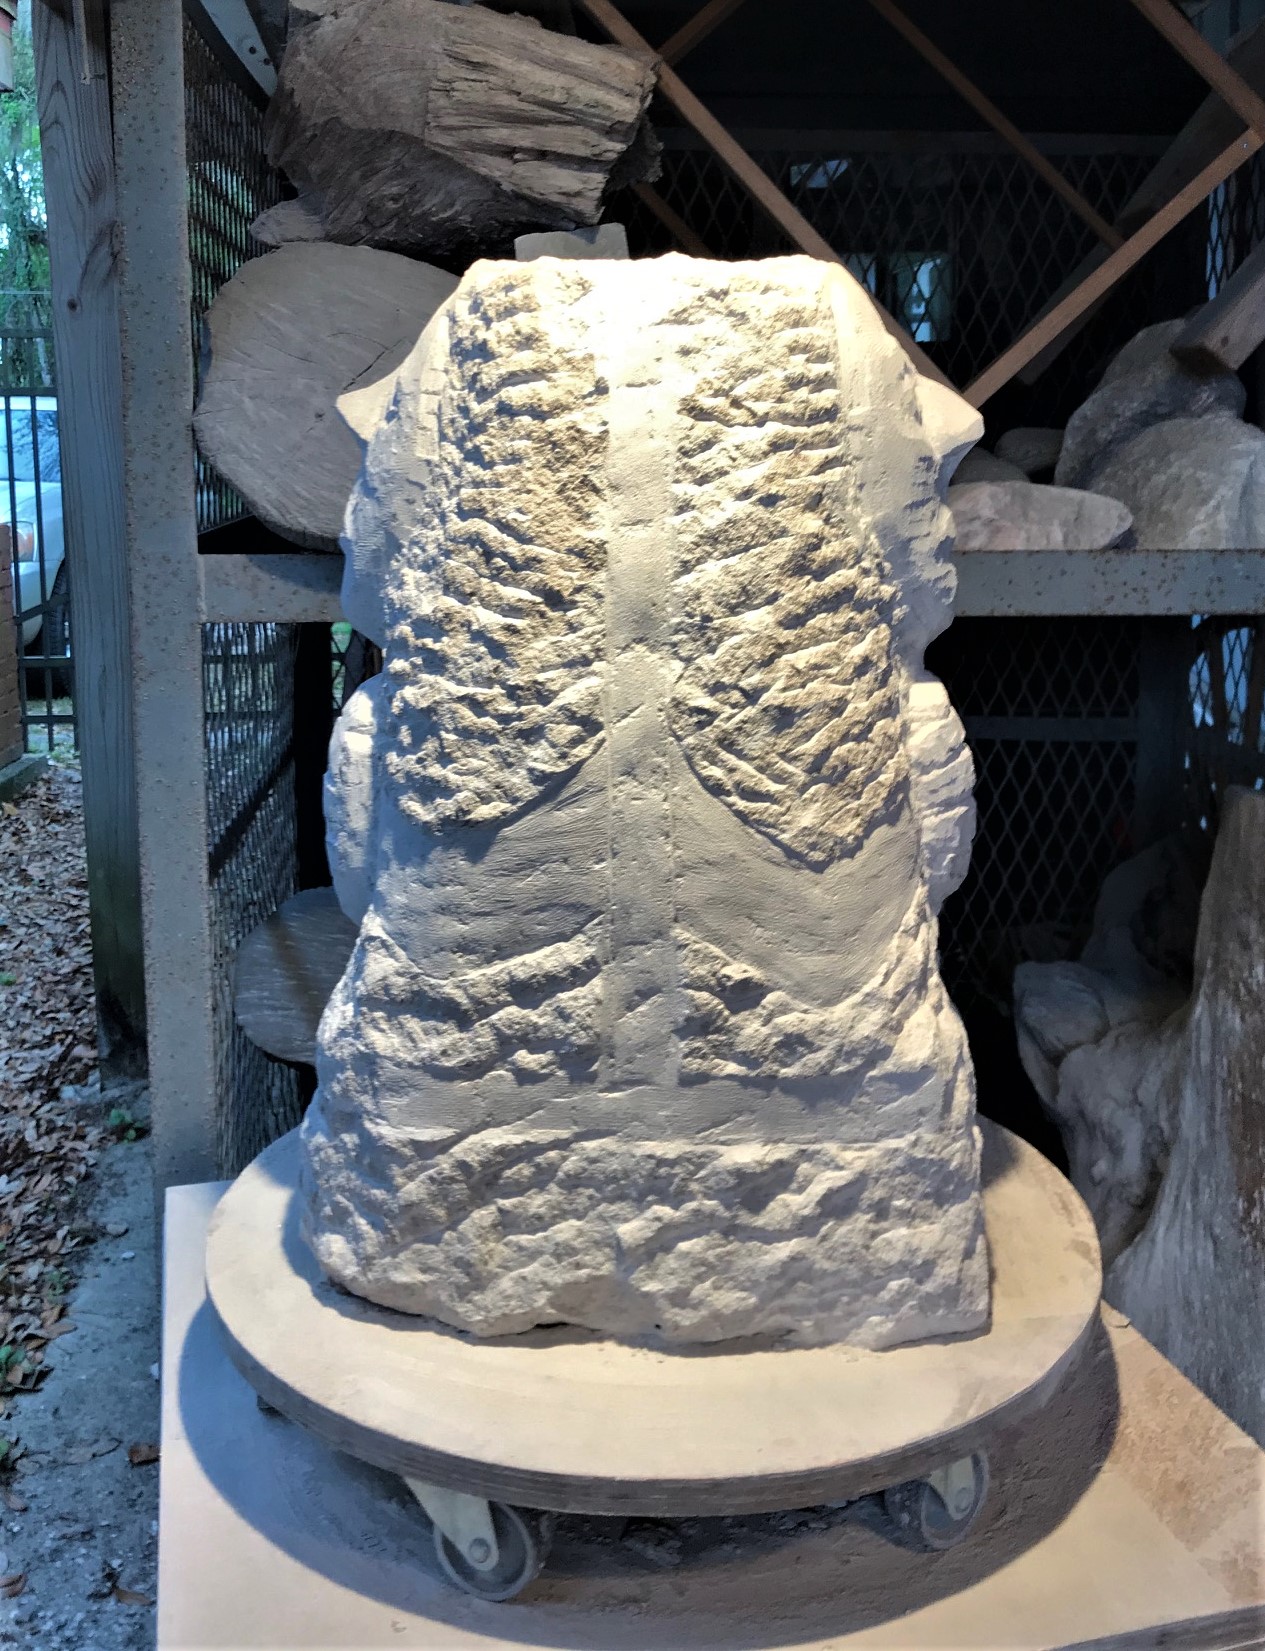
The first etching is from a drawing I made of a fishing boat in Eureka, CA. The second is of a beach scene involving Florida fiddler crabs. The third is from a photograph of a stone sculpture by John Fisher from Fort Bragg, CA. He carved this beautiful piece some years ago; it stands about 10 feet tall and is located on the campus of the Mendocino Art Center.

Standing Celtic Marble

This marble installation, about 60″ tall, is my latest work. The marble came from an almost abandoned quarry is Sylacauga, Alabama. I carried the stone back to Gainesville in my truck. There is a 6″ by 1/2″ stainless steel rod that secures the marble to the concrete base. I originally conceived of the design as representing a skeleton key being pushed through the stone. As time went on, the piece seemed more reminiscent of a Celtic motif.

Catfish and Raven Porcelain Bottles

Several years ago, I hand built several Shoji Hamada-inspired ceramic bottles but the result was not satisfying: it was difficult to construct the curved forms.

Now I have used press molds to make the main shapes. The bottle tops are then added using components made from smaller molds. The fish and raven figures are painted on bisque ware using a Jet Black (Amaco) or a Kings Blue (Mayco) underglaze. Finally, a cone 6 glaze (5/20) is used in an oxidation firing. The tallest one is 10″ tall.

Iconic Ceramic Carts

For the last several months, I made small porcelain ceramic carts, about 10-12 inches high. The cart’s body is hand built, with 3/8 inch thick sides. The axles are wooden and the wheels turn. The carts are fired to cone 6, in oxidation.

This cart is an adaptation of previous larger ones that I have made. Those had a raven theme and illustrated a “forward” woman design.

Some animals are classified as “charismatic mega-fauna” because of how people experience their iconic and cultural effects. I used this idea in the hope that an elephant might make this cart more provocative. What do you think?

Readymades

Marcel Duchamp invented the concept of the readymade.  His idea was that an ordinary object can also be a work of art.  All that was required was that the artist formally identify the object and present it as art.  It was understood that the artist did not actually create, with their own hands, the specified work.

I have made three readymades, two are presented here.

Title: The Memory Purification Device.  Composition: glass

Readymade: Memory Perfection Device

Title:  The Cognitive Aerator. Composition: plexiglass, aluminum microtubes, aluminum , rubber, steel, foil identification plate.

Readymade: Cognitive Aerator

Limestone: “The Opposite Kiss”

The original sculpture by Constantin Brancusi

Below is my current limestone sculpture, in progress,  at the Ice House Studio in McIntosh.  It is intended to be a counterpoint to Brancusi’s “The Kiss”.  In my sculpture, a man and woman have their arms and hands folded while their lips try to kiss an anticipated, but absent, partner.

A Good Outcome from Pit Firing

Great joy comes from a good pit fire day, which was the case this weekend. Here are the new pots resting on a shelf in my garage studio.  For those who might want to try pit firing, my method is outlined below.

Incidentally, the picture at the top of the photo is from a  painting by Norman Jensen, a Gainesville artist.

CAW’s method for pit firing:

  1. Use stoneware clay that will not crack under uneven heat stress.
  1. Throw your vessel, and then burnish it to a smooth surface during the drying phase.
  1. Bisque fire them to cone 06. My bisque-fired clay has a light tan to light rose color.
  1. In a 50 gallon galvanized washtub, drill ½ inch holes in the side and bottom, about 8-10 inches apart. Put 4 inches of sawdust in the bottom of the washtub then sit or tilt the pots into the sawdust, about 2-3 inches deep. Put a few teaspoons of copper carbonate and iodized salt on the sawdust around the pots.
  1. Place 12-16 inches of chopped-up boards on top. I use dry, lightweight wood (cut about 1x1x3 or 4 inches long). I want the wood to burn fairly clean and not smoke out the neighbors.
  1. Say your prayers or whatever spiritual encouragements you desire then light the fire and let it burn in open air. Do not move the pots until the ashes are completely cool and settled. Now Scrub them with soap and water and let them dry. I use a dry box and sometimes a blowtorch to speed up drying.
  1. Apply one coat of Future Premium Floor Finish (a clear finish) using small piece of cloth. Use just enough wet the pot, it does not require much coat material. Let that dry then rub the pots with steel wool to change the gloss finish to satin. Now admire your work.